

Pagewheel lets you create a sales page, connect your Stripe account, and deliver your digital product after someone buys it.
A few years ago, Rachel and I made a decluttering checklist to go with a cleaning article on our blog. We also made a meal-plan PDF for a recipe post and a stain-removal guide for a laundry article.
The products were simple. Selling them was not.
Each one needed a page, a way to take payment, and a way to deliver the file. Each funnel took us eight to ten hours to build. If something broke, I couldn’t fix it myself.
Then our delivery system stopped working for a month. Customers paid but didn’t get their products. We refunded every purchase that month.
That experience helped inspire Pagewheel. I wanted a simpler way to put the product, page, payment, and delivery together.
What Is a Landing Page With Stripe?
A landing page tells people about your product and gives them a way to buy it. Stripe processes the payment through your Stripe account.
You also need a way to deliver the product after someone pays. Here’s the path I would follow, with the Pagewheel steps for each part.
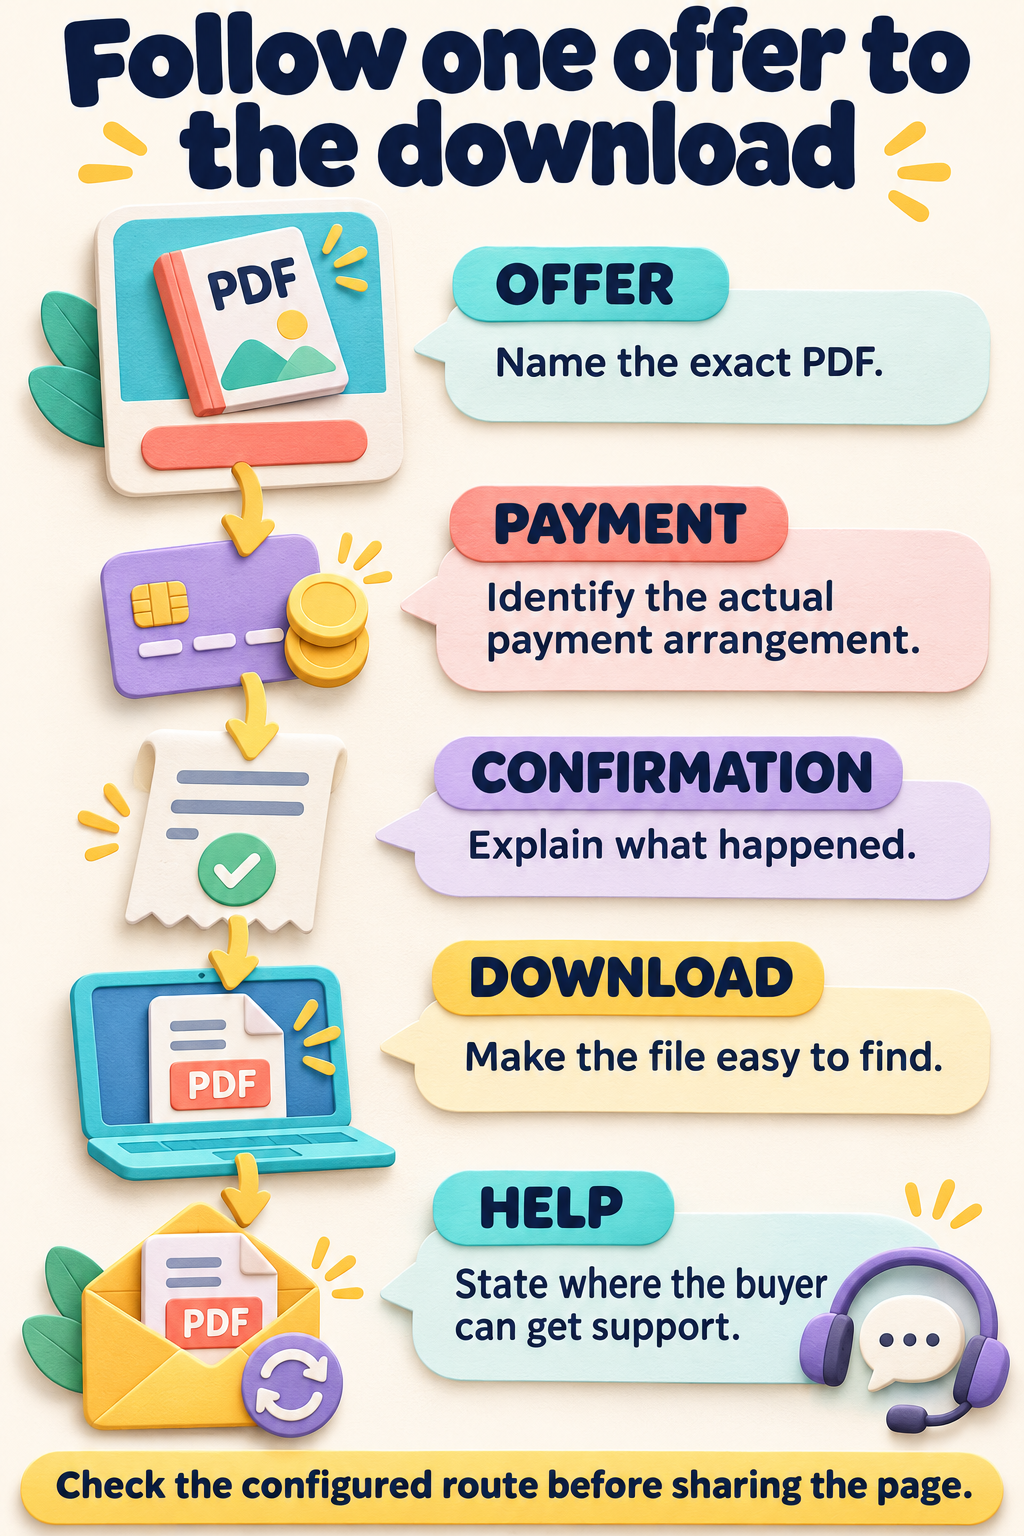
1. Get Your Product Ready to Deliver
Start with the product you want to sell. It could be a checklist, workbook, guide, printable, or another digital resource.
Make sure the file is finished and that you know what the buyer will receive. That gives you something specific to describe on your sales page and a file to deliver after the purchase.
In Pagewheel: On the sales-page setup screen, choose Digital Product and describe your product. Under Upload your product or paste its access link, you have three options: paste a link to your product, upload a file using the cloud button, or choose + Create to make a product in Pagewheel.
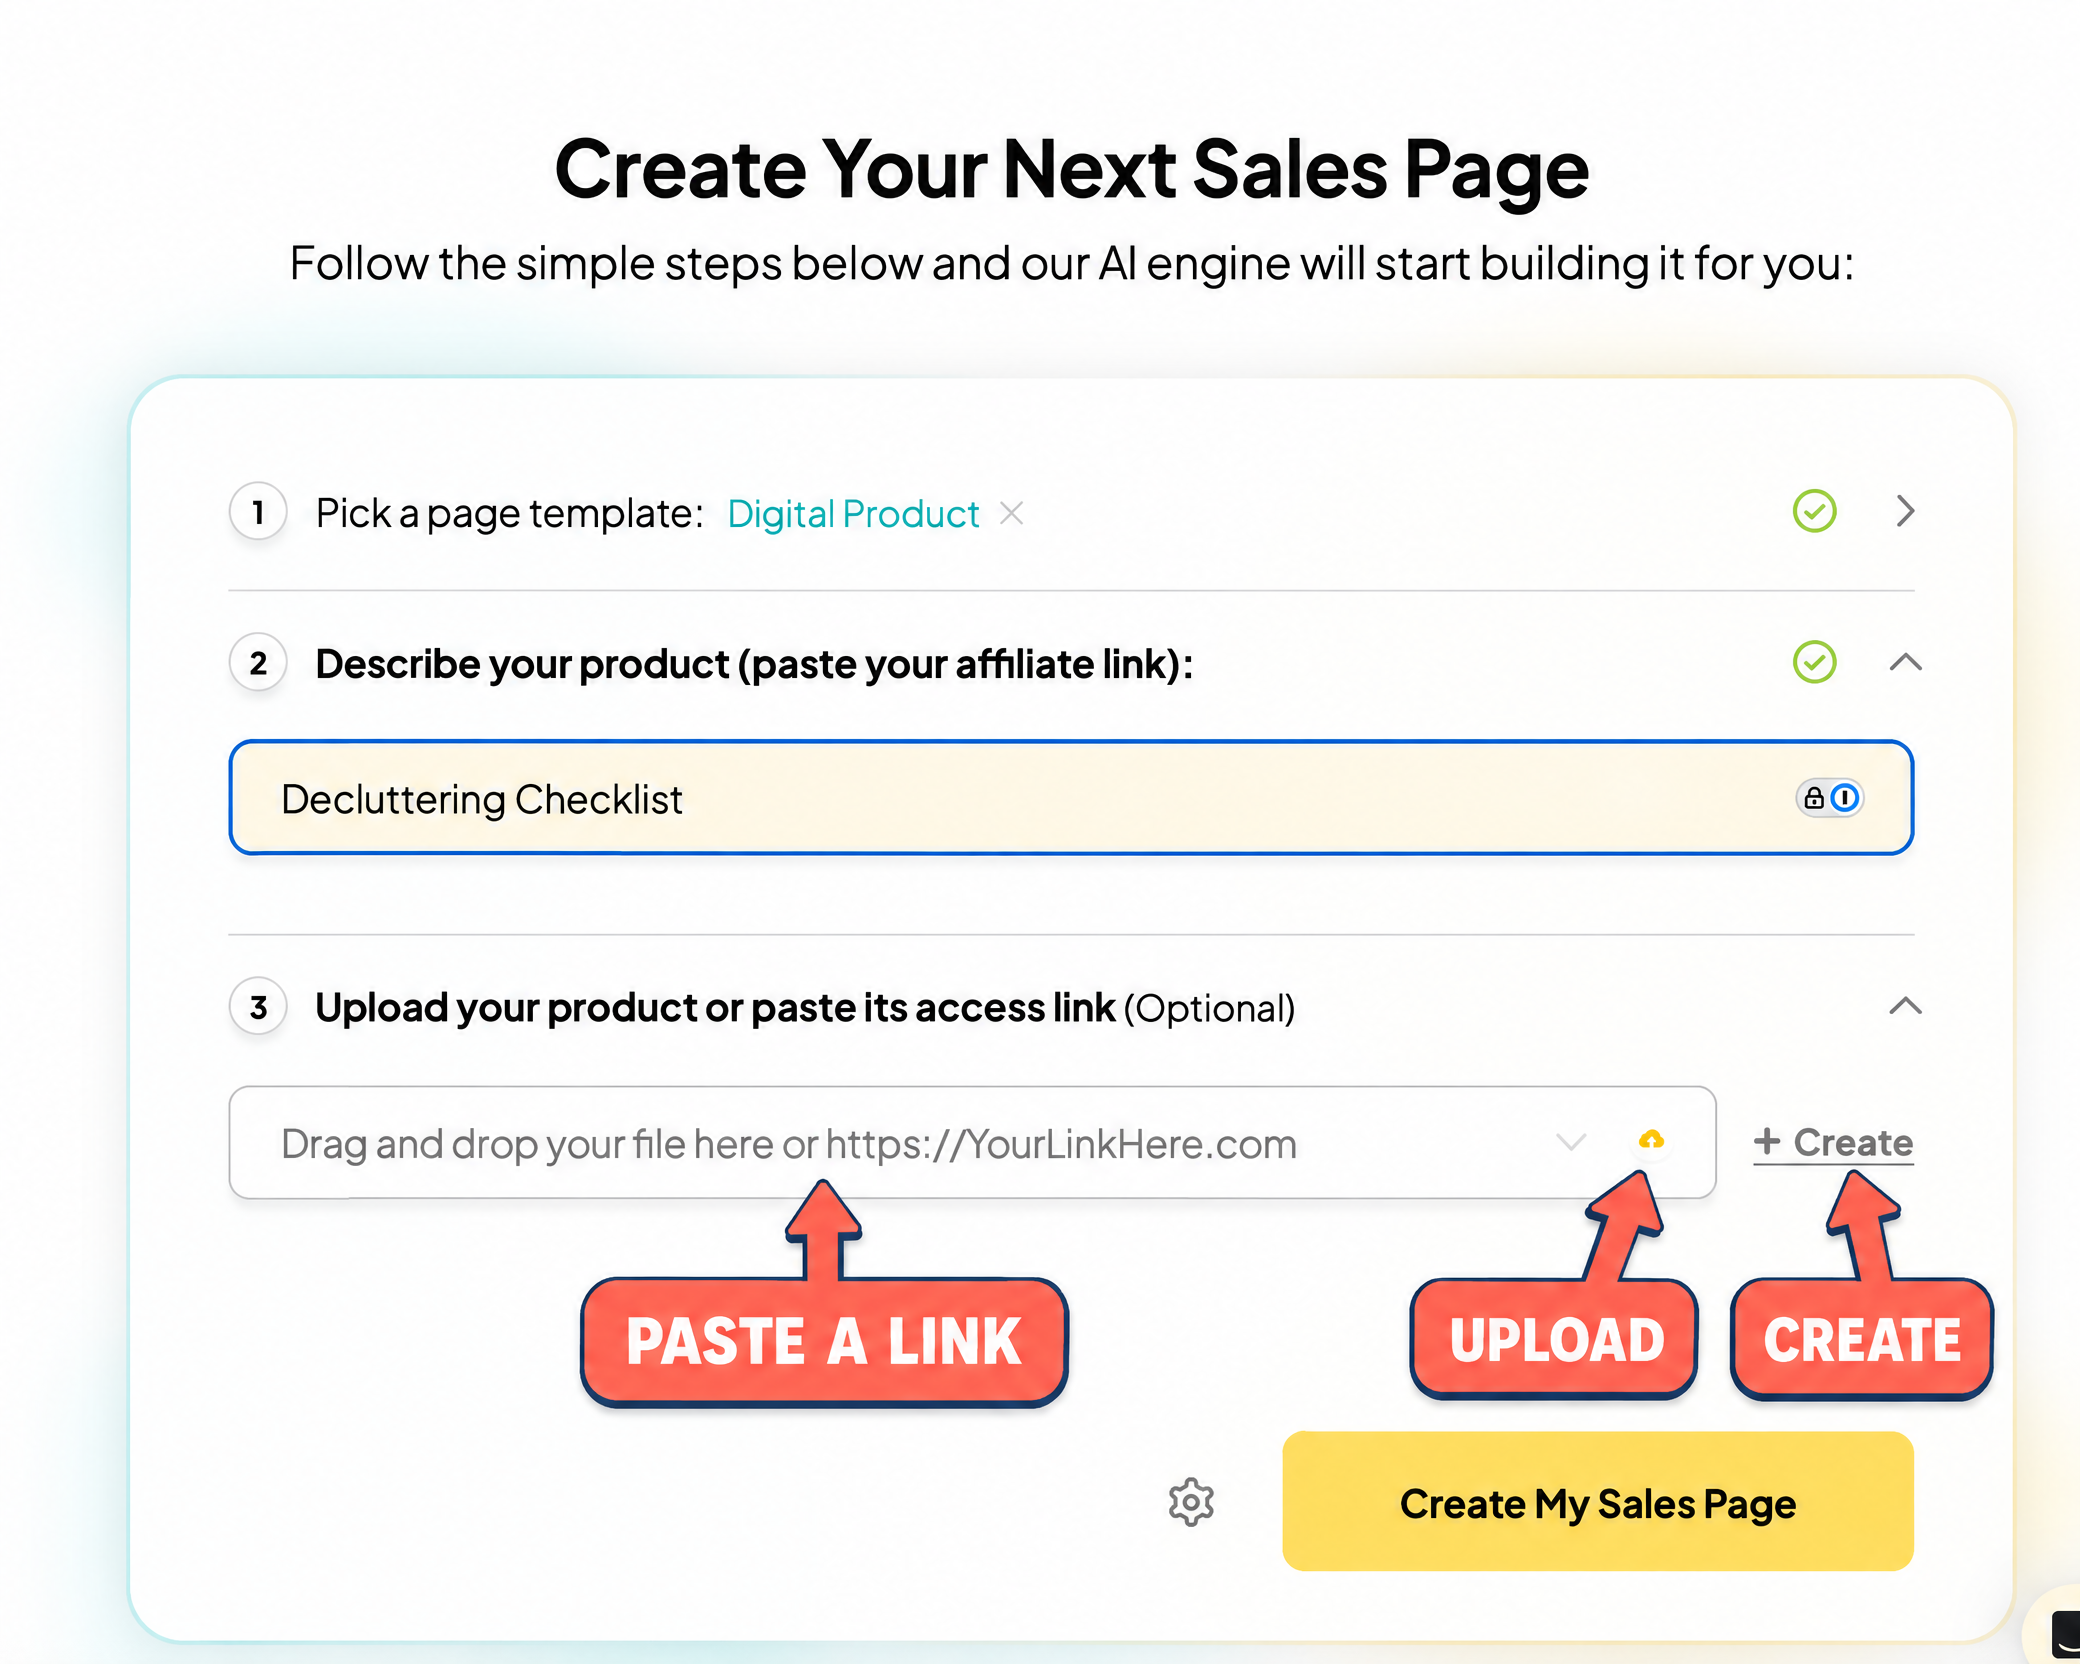
If you need to change the contents of an uploaded PDF later, edit the original file and upload the revised version. You can also add Pagewheel-created pages to your product. Here’s how to upload your PDF.
2. Make a Sales Page That Explains the Offer
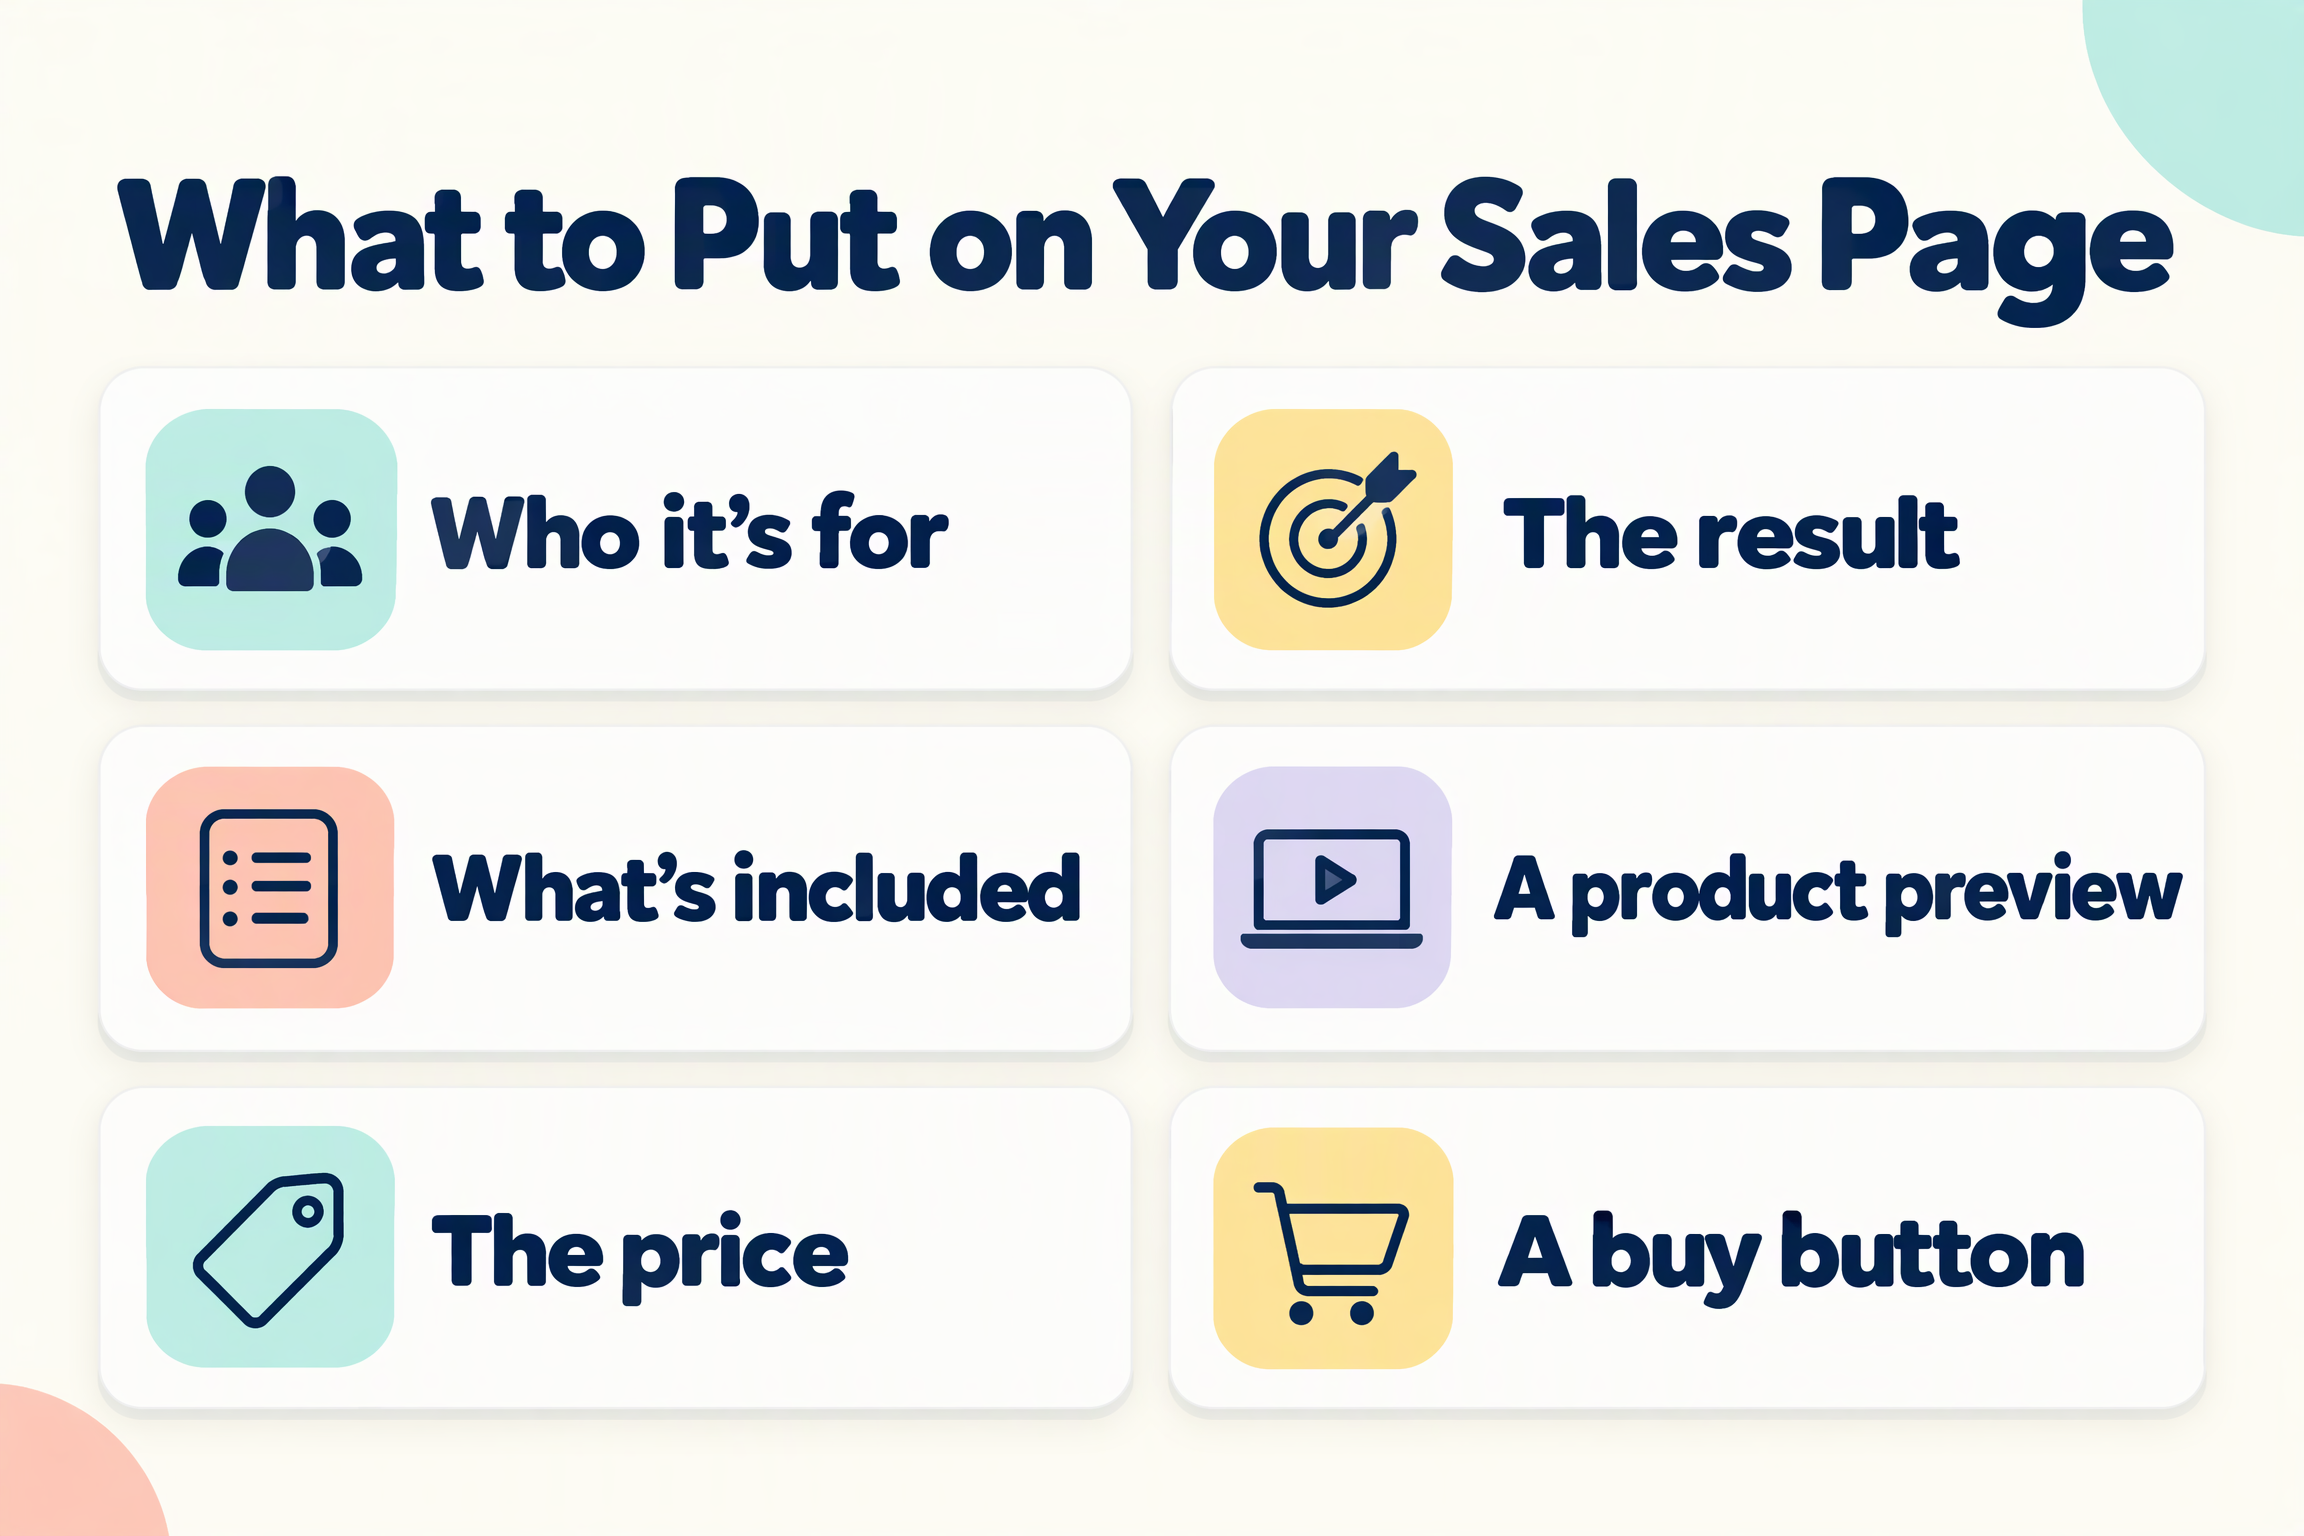
Your sales page helps someone decide whether the product is right for them. Tell them who it’s for, what it helps them do, what’s included, and what it costs.
Make the next step easy to find: a clear button or form to buy. A preview can also help people see what they’re getting before they pay.
This example shows the prompt for a webinar. You can describe a digital product in the same field.
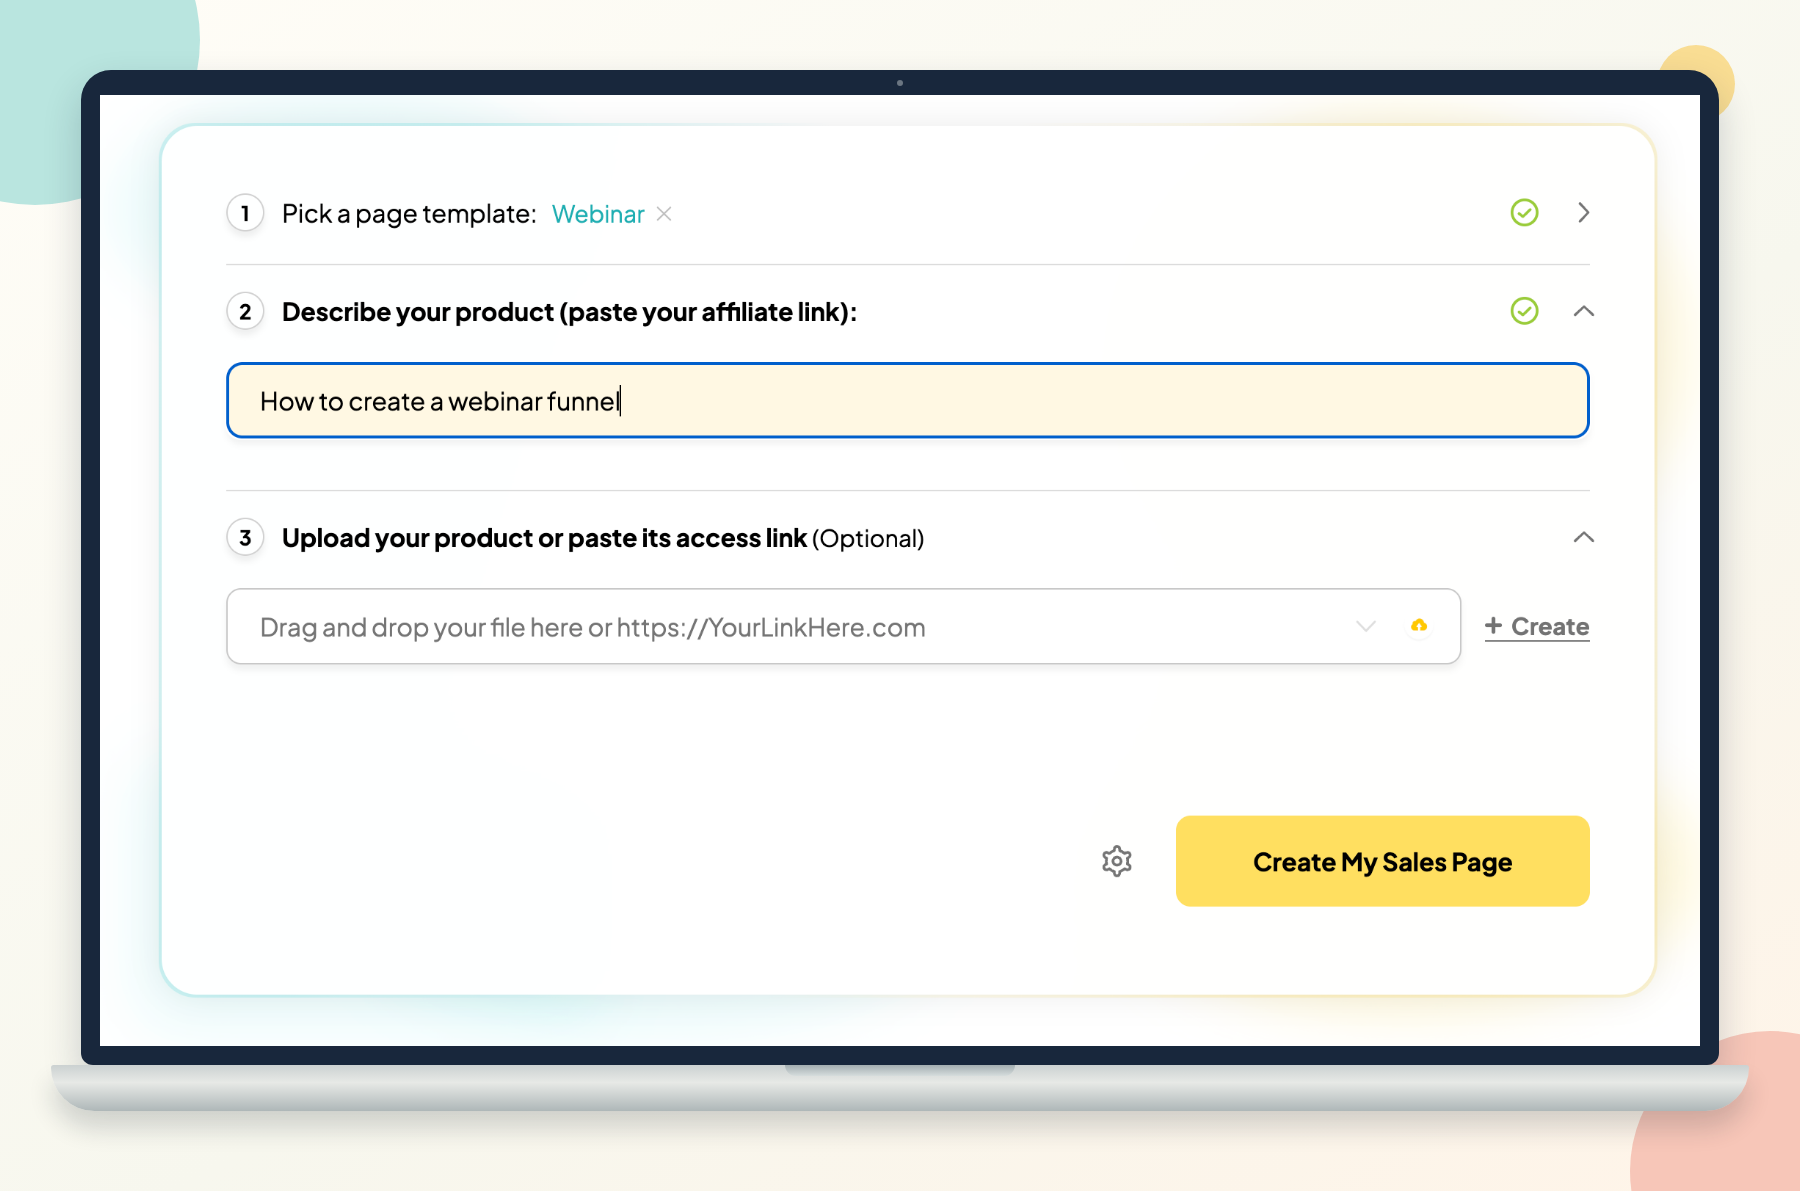
In Pagewheel: Describe your product and click Create My Sales Page. Pagewheel writes a starting page for you. Here’s where to find each of the six elements:
- Who it’s for: Look in the featured section at the top of the page, under the headline. Pagewheel writes a starting description you can edit to speak to your audience.
- The result: The featured section also explains what your product helps people do. Pagewheel writes this for you, and you can adjust it to make the result clear.
- What’s included: Add a section with bullet points to list what buyers get. For a digital product, you can also use Pagewheel’s mockup creator to show the different pieces.
- A product preview: Add an image section to show your product, or a video section for a demo. You can also use a feature section to show what’s inside.
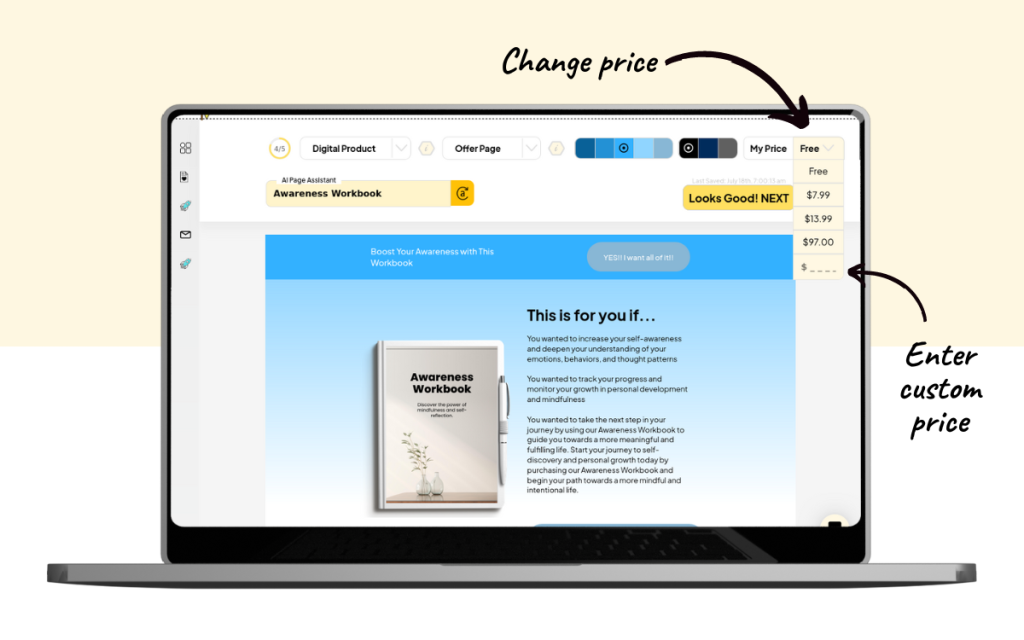
- The price: Use My Price in the upper-right corner of the page editor to set your price.
- A buy button: Pagewheel adds the button for you. Once you connect Stripe, the button is connected to checkout. I’ll show you how to connect Stripe in step four.
3. Set a Price
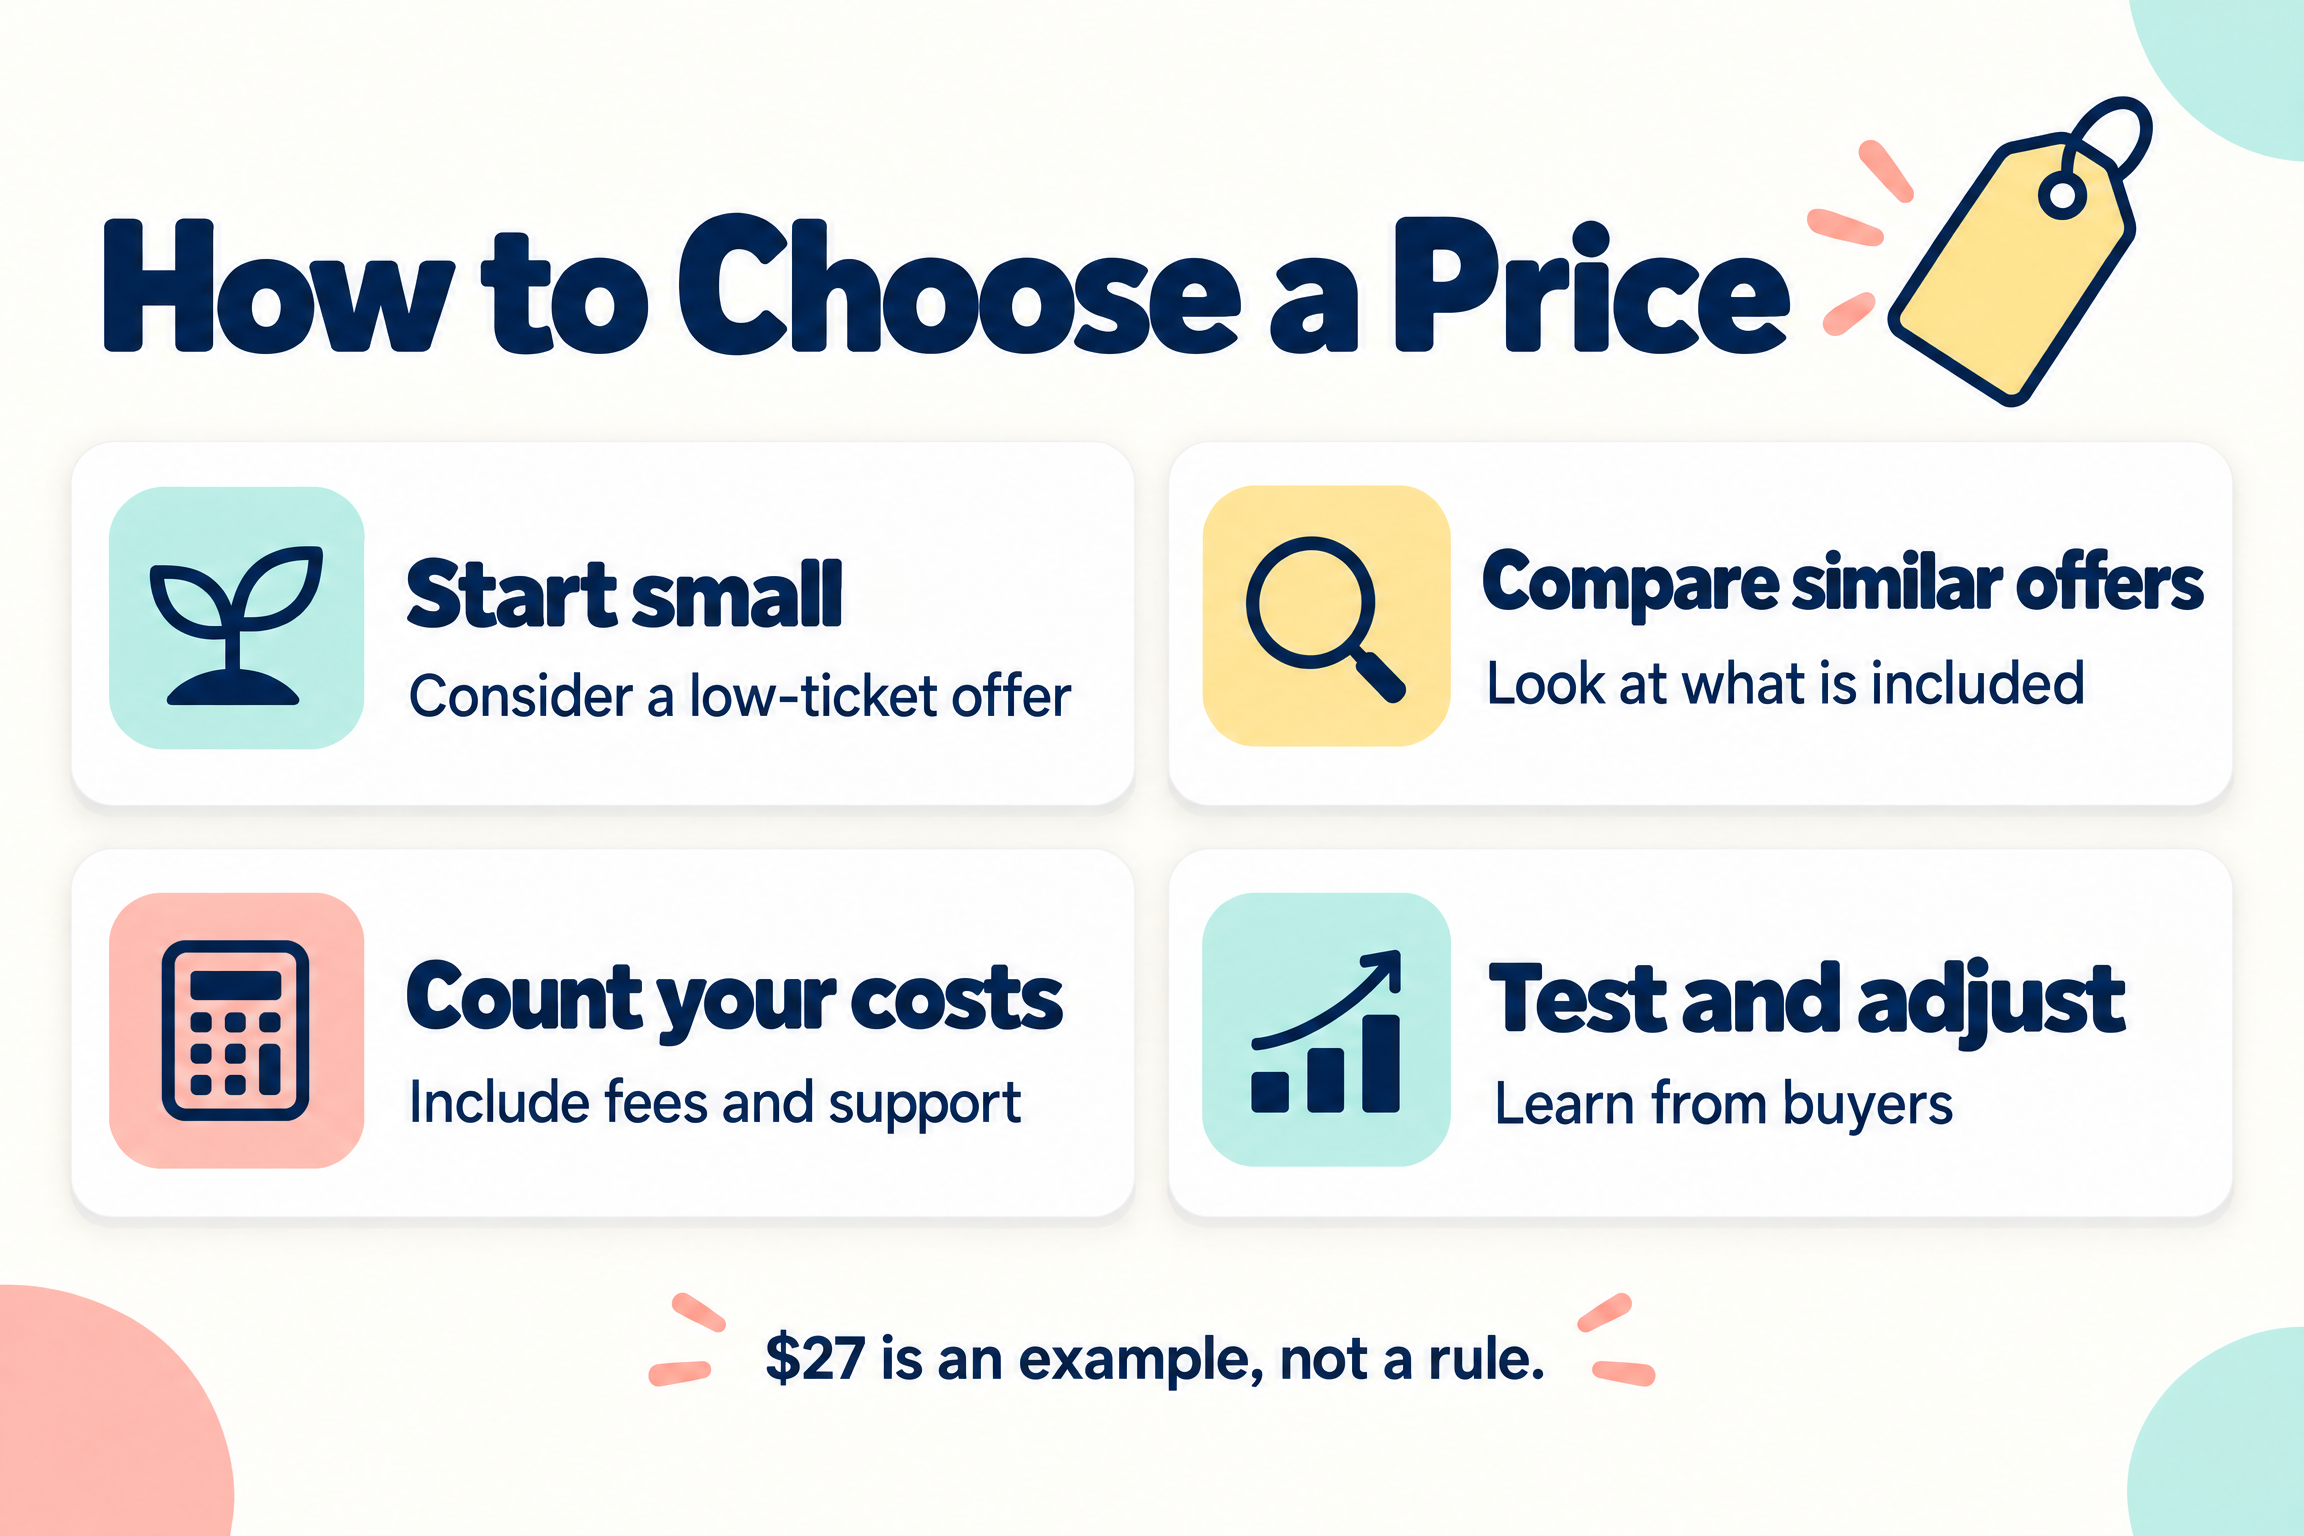
Start with the result your product offers. For a small product, a low-ticket price can be a starting point. A $27 product is one example, not a rule.
Check what similar products cost, consider your fees and other costs, and adjust as you get feedback. For more help, see how to price your products and services.
In Pagewheel: In the offer page editor, use My Price to choose a price or enter a custom one. Here’s how to set your price.
4. Connect Stripe
To take payments through Stripe, connect your own Stripe account to Pagewheel. Stripe processes the payment, and Pagewheel gives buyers a way to check out.
Check the payment methods and fees available for your Stripe setup. You’ll also be responsible for your seller-side policies, including refunds and applicable taxes.
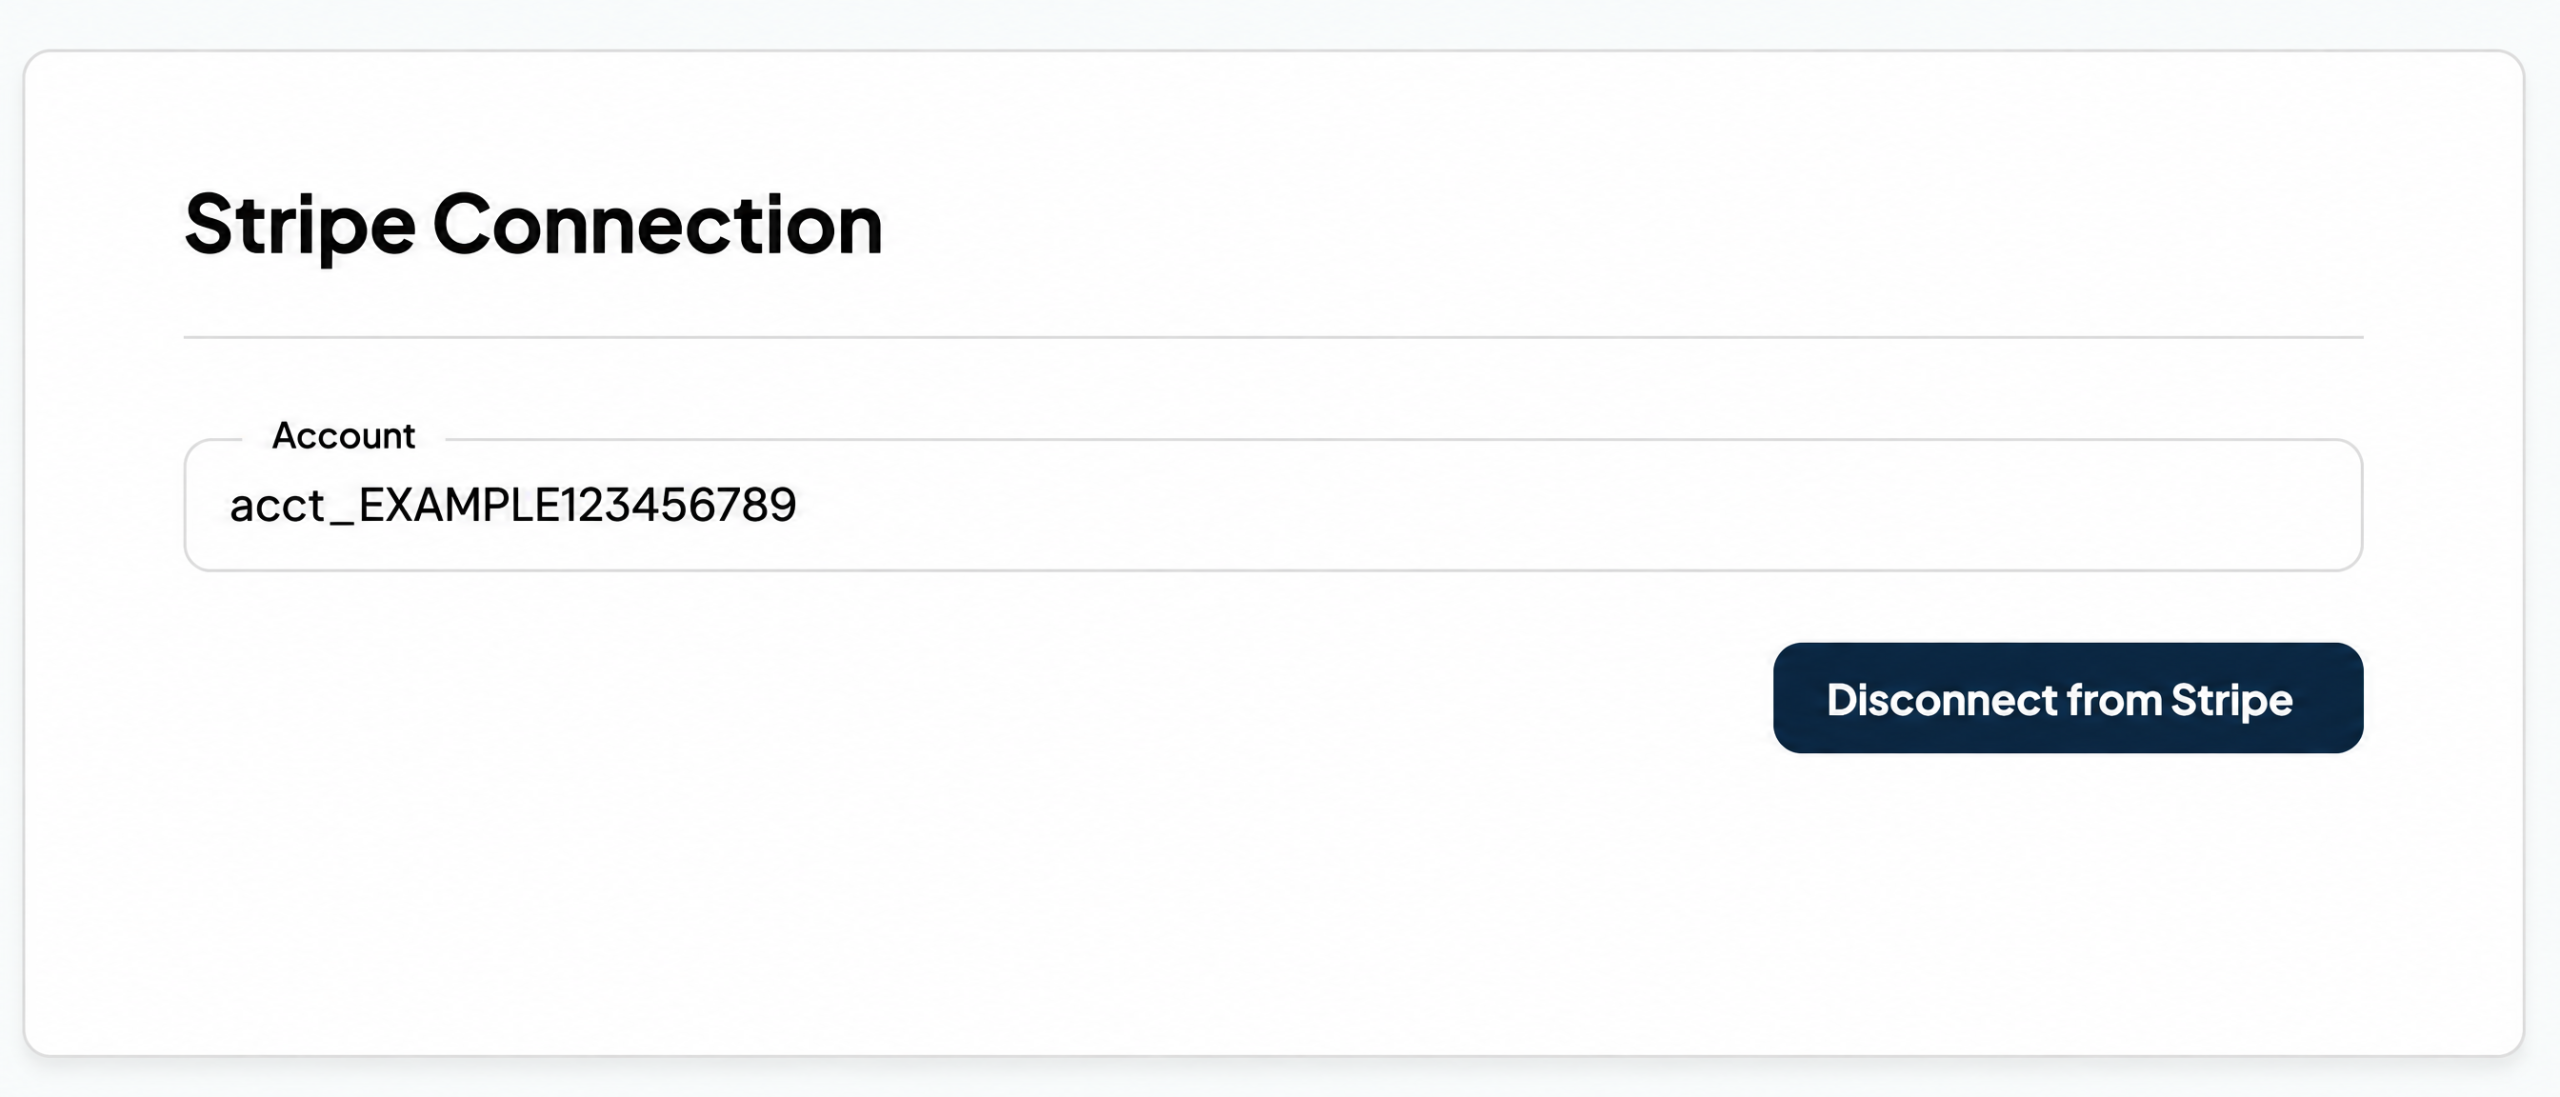
In Pagewheel: Click your avatar to open Account Settings, then choose Stripe Connection. Click Connect with Stripe.
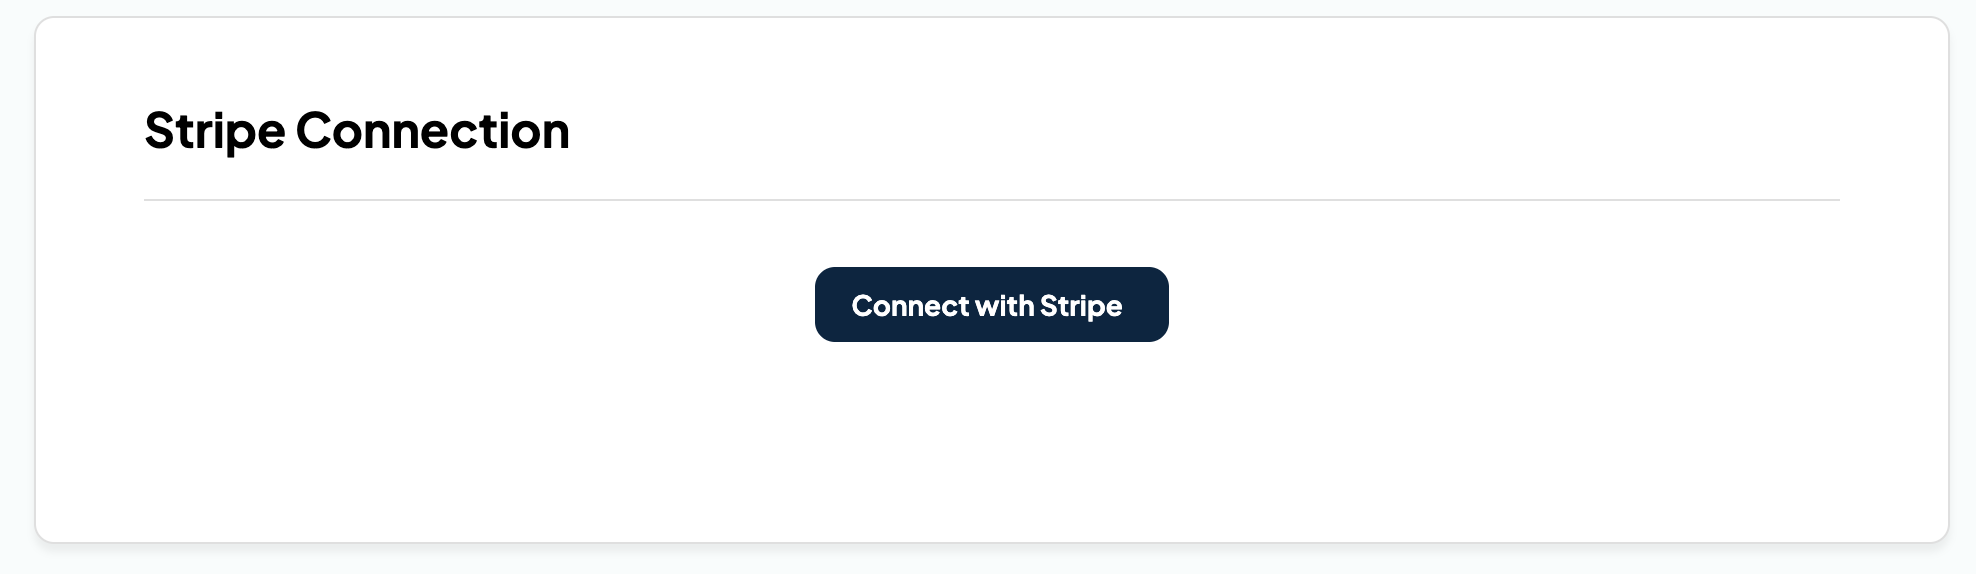
Stripe will open. Log in to your existing Stripe account or create a new one, then follow the prompts to complete the connection.
After connecting, your Stripe account appears in this section. The account number shown below is an example.
You can also use Digistore24 as a different checkout option. Compare Pagewheel’s payment options before deciding which one fits your business.
5. Show Buyers How to Get Their Product
After someone pays, they shouldn’t have to wonder what happens next. Give them a thank-you page with a clear way to access the product, and send a delivery email they can return to later.
Use the same product name on the sales page and in the delivery instructions. Include a way to contact you if the buyer needs help.
In Pagewheel: Pagewheel creates a delivery page and delivery email for the product. In the website editor, select Delivery Page to review what the buyer sees.
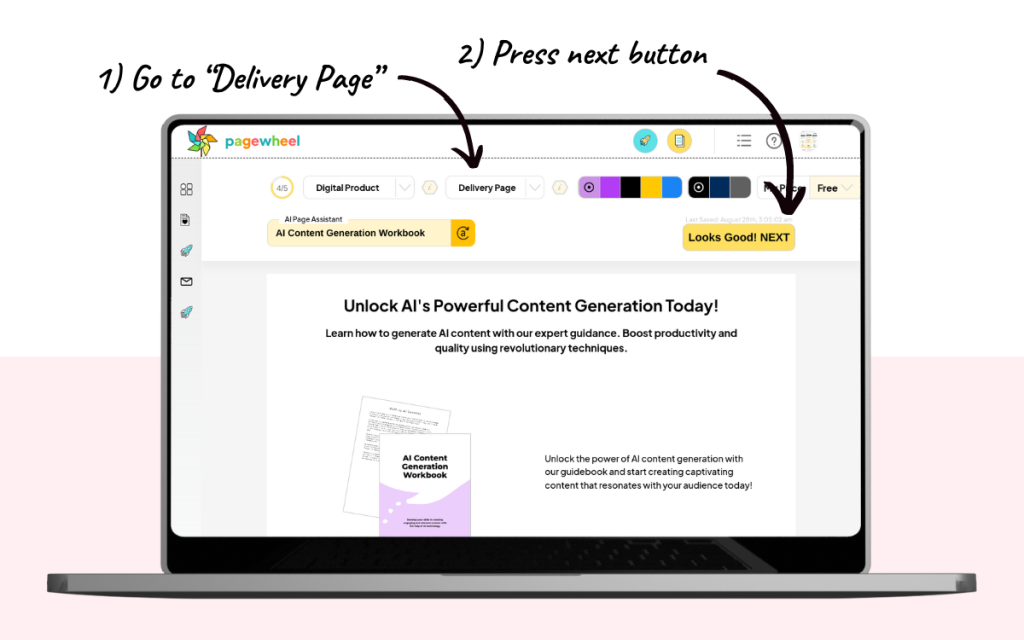
Click Next on the delivery page, then click through the metadata screen to reach the Delivery Email editor.
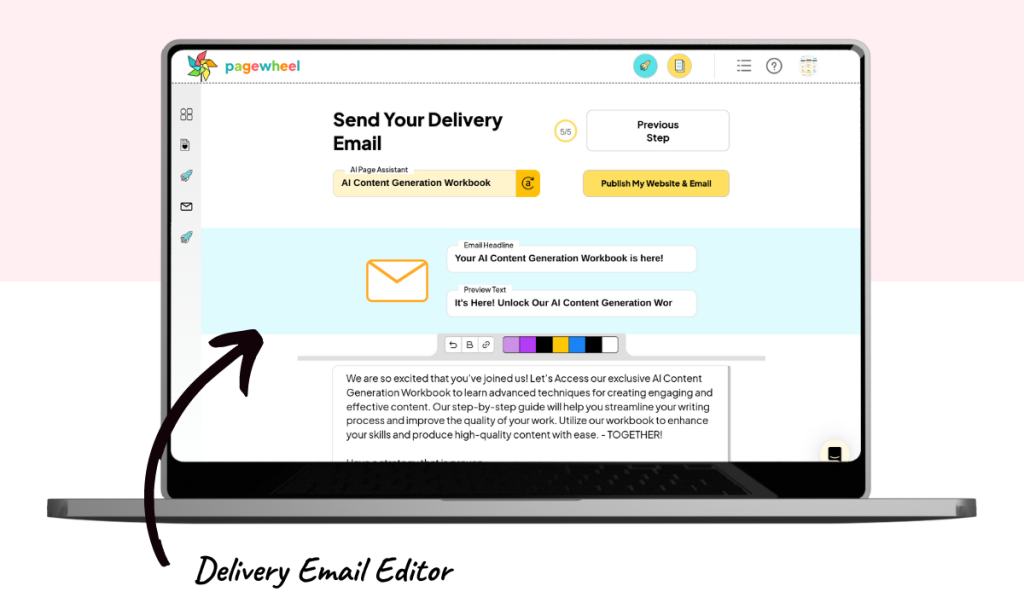
Check that the product link and instructions are clear, and edit the message to sound like you. Here’s how to edit the delivery email.
6. Test the Purchase, Then Share the Page
Before you send people to your page, follow the path as a buyer. Check the price and checkout, open the thank-you page and email, and click the product link. Make sure you can access the file.
Use your payment provider’s test option if it’s available for your setup. If you make a live purchase to check the process, remember that it’s a real transaction and fees may apply.
Once the path works, share the sales page with people who may find the product useful. You could add it to a related blog post, email it to your list, or share it on social media.
In Pagewheel: Publish the offer page and delivery email. Find your offer page under Your Links, then use that link to test and share it. If you change the page or email later, publish those changes before testing again.
A Few Questions About Stripe and Pagewheel
Do I Need a Stripe Account?
Yes, if you choose the Stripe route. You connect your own Stripe account to process payments.
Who Handles Refunds?
When you use your own Stripe account, you manage your refund policy and refunds through that account. Make sure your policy follows the requirements that apply to your business.
Can I Use Digistore24 Instead?
Yes. Pagewheel also offers a Digistore24 checkout option. Digistore24 acts as the reseller for covered transactions and handles applicable transaction taxes within its terms. It’s a different arrangement from using your own Stripe account.
Start with one product you’re ready to share. Create your page in Pagewheel, connect your payment option, and make sure your buyer can get what they paid for.